 by
by Dips are a great exercise for your upper body. They work your chest, shoulders, and triceps. This helps build strength and muscle. It’s important to do dips correctly to get the most benefits and avoid injuries.
This guide will teach you the key techniques and what equipment you need. You’ll also learn how to progress and improve your dips. This will help you grow stronger and more toned in your upper body.
Whether you’re new to fitness or have been working out for a while, learning dip form is key. By the end of this article, you’ll know how to do dips right. This will unlock the full power of this effective bodyweight exercise.
Table of Contents
Understanding the Benefits of Dips for Upper Body Development
Dips are a great exercise for the upper body. They help build chest, triceps, and muscle strength. This exercise works many muscles at once, making it perfect for chest workout and triceps workout routines. It’s also great for muscle building.
Building Chest and Triceps Strength
Dips are excellent for strengthening the chest and triceps. When you lower your body, your chest muscles control the movement. Your triceps help push you back up. This combination builds strong pushing power and stability.
Enhancing Shoulder Stability
Dips also improve shoulder stability. Keeping your shoulders engaged during the exercise strengthens this area. This reduces injury risk and boosts athletic performance.
Core Engagement Benefits
Dips are not just for the chest and triceps. They also engage the core. Proper technique requires a stable torso. This improves body control and stability, enhancing posture and exercise performance.
Adding dips to your workout can transform your upper body. They boost chest and triceps strength, improve shoulder stability, and engage the core. Mastering the right form unlocks the full benefits of this powerful muscle-building exercise.
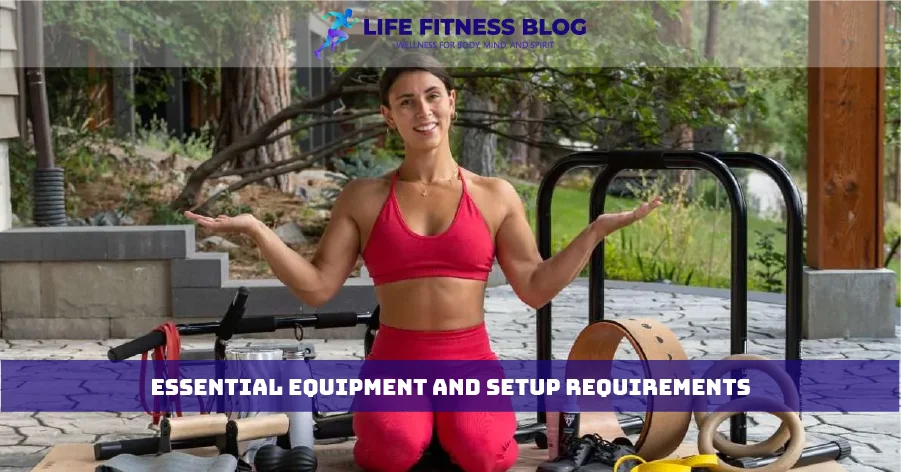
Essential Equipment and Setup Requirements
When doing dips, the right gear and setup are key. Dips work your chest, triceps, and shoulders. You’ll need specific gym equipment or alternatives to do dips right.
Necessary Equipment for Dips
- Parallel bars: These sturdy, raised bars are perfect for dips. They should be a bit wider than your shoulders apart.
- Dip station: A dedicated dip station is stable and adjustable. It lets you target different muscles by changing grip and body position.
- Gymnastics rings: Gymnastic rings add a challenge to dips. They also work your core.
If you don’t have gym equipment, you can use sturdy tables, benches, or desk edges. Make sure the surface is stable and can hold your weight.
Proper Setup for Dips
The setup should allow for smooth movement. Adjust the height so your arms are straight and your shoulders are below your hands at the start. This helps you move right and work the right muscles.
| Equipment | Ideal Setup | Alternative Setup |
|---|---|---|
| Parallel Bars | Shoulder-width apart, adjustable height | Sturdy table or bench edge |
| Dip Station | Adjustable grip width and height | Improvised station using furniture |
| Gymnastics Rings | Securely mounted, adjustable height | Sturdy tree branch or beam |
For a good fitness routine, you need the right equipment and setup. With the right setup, you can do dips confidently. This ensures you get the most benefits and avoid injuries.
How to Do Dips with Proper Form:
Doing dips right is key to working the right muscles and staying safe. Let’s look at how to do dips with proper form and get the most out of this upper-body workout.
Starting Position Setup
Start by standing between two strong parallel bars or dip stands. Hold the bars with your palms facing inward, arms straight, and body hanging above the floor. Keep your shoulders over your wrists and your core tight for a straight line from head to heels.
Movement Execution
Start by bending your elbows to lower your body until your arms are almost parallel to the floor. Keep your elbows close to your body as you go down, avoiding flaring them out. Push through your palms to go back up, fully straightening your elbows at the top.
Breathing Pattern
- Breathe in as you lower your body during the dip’s lowering phase.
- Breathe out strongly as you push back up to the start, using your exercise technique and upper body.
Right breathing helps you power up, keep your core stable, and execute the dip movement smoothly and effectively
Common Mistakes to Avoid During Dips
Getting the dip exercise form right is key to getting the most out of this strength training move. But, many people make mistakes that can slow down their progress and raise the risk of injury. Knowing these mistakes helps you do dips safely and effectively.
One big mistake is leaning too far forward during dips. This can stress your shoulders and not work the muscles as well. Keep your body straight, with your chest up and shoulders over your hands.
- Don’t let your body swing too far forward. This takes focus away from your chest and triceps.
- Keep your core tight to stay stable and in control.
Not going low enough is another common problem. Many people don’t lower themselves enough, making the exercise less effective. Try to go down until your upper arms are almost parallel to the floor, or until your elbows are at a 90-degree angle.
“Proper dip exercise form is crucial for maximizing the benefits and minimizing the risk of injury.”
Also, how you hold your elbows can affect your dip exercise form. Keeping your elbows close to your body works your triceps better and protects your shoulders.
- Don’t let your elbows spread out too much, as this can hurt your shoulders.
- Try to push your elbows back as you go down during the dip.
By avoiding these common mistakes and adjusting your dip exercise form, you can have a safe and effective workout. This will help strengthen your upper body through strength training.
Proper Hand Placement and Grip Techniques
When doing dips, how you place your hands and grip is key. It helps target the right muscles and keeps you safe. Trying out different grip widths and wrist angles can boost the benefits of this exercise technique. It can also help you reach new levels of strength training.
Different Grip Widths
The grip width affects which muscles you work during dips. A narrower grip focuses more on your triceps. This is because the movement mainly involves elbow extension. On the other hand, a wider grip works your chest muscles more. This is because the movement involves more shoulder adduction.
Try out different grip widths to see what works best for you. The right grip width varies from person to person. So, pay attention to what feels right for your body and goals.
Wrist Position and Safety
Keeping your wrists in the right position is key to avoiding injury during dips. Hold your wrists straight and your palms facing forward. Avoid bending your wrists too much up or down, as this can harm your joints.
- Engage your core and keep good posture to support your wrists and spread out the weight.
- If your wrists hurt, think about using wrist wraps or straps for extra support and stability.
- Pay attention to how your body feels and adjust your grip and wrist position as needed for a safe workout.
Understanding the importance of proper hand placement and grip techniques can enhance your dip workouts. It helps you reach new heights in strength training while keeping you safe and healthy.
Progressive Steps for Beginners
Learning to do dips takes time and practice, especially for beginners. We’ve created a step-by-step guide to help you get better at dips. It focuses on building upper body strength and confidence.
Start with Assisted Dips
Beginners should start with assisted dips. Use a dip station or bench and place your feet on a raised platform or box. This helps lift your body weight. As you get stronger, reduce the amount of assistance.
Conquer Negative Dips
When you can do a few assisted dips, try negative dips. Start at the top of the dip position and slowly lower down. Take 3-5 seconds to do this. It builds the strength needed for full dips.
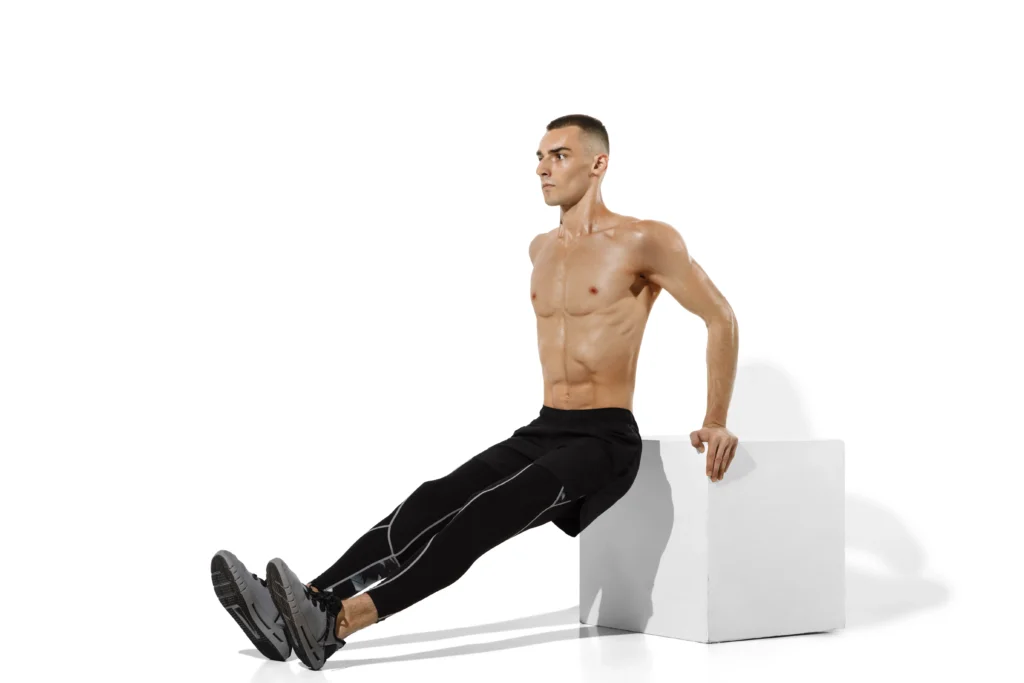
Master Bench Dips
Bench dips are a great next step. Place your hands on a bench or sturdy surface. Extend your legs out and lower your body down, bending at the elbows.
Do 3 sets of 8-12 reps of each exercise 2-3 times a week. As you get stronger, add weight or reduce assistance. This is part of your fitness routine.
Remember, being consistent is important. Be patient and focus on proper form. This will help you build the strength and confidence to master the full dip.
Advanced Dip Variations and Modifications
As you get better at your chest workout and triceps workout, try new dip variations. These advanced dips can help you build more muscle. They also improve your upper body strength and control.
Weighted Dips
Weighted dips add extra resistance to your workout. You can use dumbbells or a weighted vest. This makes your chest and triceps work harder, helping them grow stronger.
Begin with a lightweight and keep your form right. This helps avoid injuries.
Explosive Dips
Explosive dips are great for power. Start by pushing up with force. This works your fast-twitch muscles, boosting your upper body power.
Ring Dips
Dips on suspension rings or TRX straps are tough. The rings make it harder to balance, which strengthens your core and improves your dip skills.
Start adding these advanced dips slowly. Let your body get used to them. Always focus on proper form to get the most benefits and stay safe.
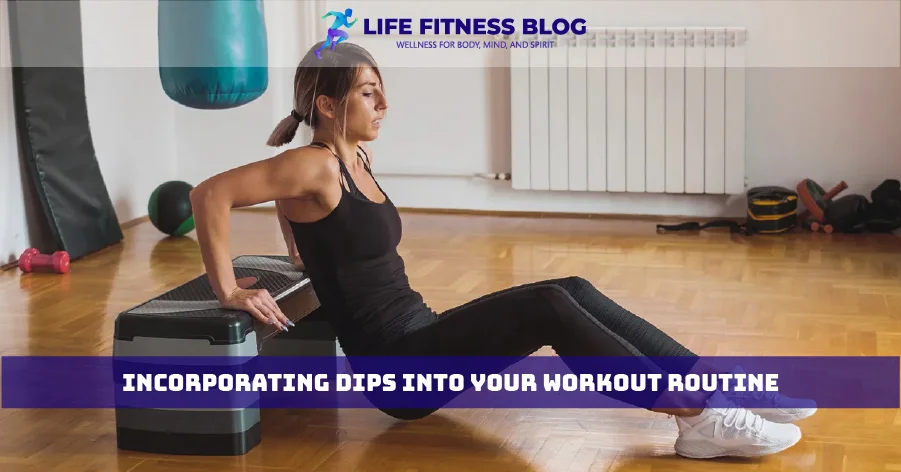
Incorporating Dips into Your Workout Routine
Adding dips to your fitness routine can change your upper body strength and muscle growth. They help build a stronger chest, toned triceps, and better shoulder stability. Dips should be a key part of your workout plan.
To get the most from dips, try these methods:
- Compound Exercises: Mix dips with exercises like pull-ups or bench presses for a full upper-body workout.
- Superset Variations: Switch between dips and triceps-focused moves like close-grip pushups or skull crushers. This targets muscles from different sides.
- Workout Finishers: Finish your upper body workouts with a tough dip challenge. This ensures you’ve worked your muscles fully.
Here are tips for how often and how many dips to do:
- Do dips 2-3 times a week for enough rest in between.
- Begin with 2-3 sets of 8-12 reps. Increase as you get stronger.
- Change the difficulty of dips based on your fitness level. Always keep proper form.
By adding dips to your strength training, you’ll see big improvements in your fitness routine and strength training. Embrace dips and see your upper body strength and definition soar.
Safety Considerations and Injury Prevention
Keeping the right exercise technique is key when doing dips. It keeps you safe and prevents injuries. Always warm up your muscles and joints before starting. This gets your blood flowing, makes your joints slippery, and gets your body ready for the exercise.
Pre-workout Warm-up
Start with some light cardio like jumping jacks or high knees. This raises your heart rate. Then, do dynamic stretches for the muscles and joints used in dips, like your shoulders, chest, and triceps. This boosts your range of motion and lowers the chance of strains or tears.
Post-workout Recovery
After doing dips, cool down and stretch the muscles you used. This lessens muscle soreness and helps you recover faster. Also, add mobility exercises and foam rolling to keep your shoulders healthy and avoid overuse injuries. Listen to your body and rest enough between workouts for long-term success in strength training.
Also Read:
FAQs
What are the benefits of doing dips?
Dips are a compound exercise that primarily targets the chest, shoulders, and triceps. They also engage the core muscles, making them a great exercise for overall upper body strength and stability.
How can I modify dips to make them easier?
Beginners can start with assisted dips using a dip machine or a chair. As you get stronger, you can progress to negative dips and eventually full dips.
What are some common mistakes to avoid when doing dips?
Common mistakes include flaring your elbows, not going deep enough, and not engaging your core. Maintain proper form to maximize results and prevent injuries.
How often should I do dips?
Aim to do dips 2-3 times per week, allowing ample rest for muscle recovery.
How can I increase the difficulty of dips?
To increase the challenge, you can add weight to your body using a weighted vest or belt. You can also try different hand positions or vary the tempo of the movement.